
ONLINE Calligraphy: Flourishes for Italic - Starts Mon 22nd March 2021 at 10am
SKU:
GG2203aa12
£85.00
£85.00
per item
Due to the interactive nature of this course, we ask that students participate live, if possible, to gain the most from the workshops.
A video playback service will still be provided for both sessions of this course.
A video playback service will still be provided for both sessions of this course.
Sold out
Tutor: Gaynor Goffe
Mon 22rd March 10am - 12pm
Mon 29th March 10am - 12pm
(UK timings)
This two-part LivePlus™ online workshop is ideal for improvers and intermediate calligraphers. All students will need to have experience of writing basic italic to benefit from this workshop.
Workshop details
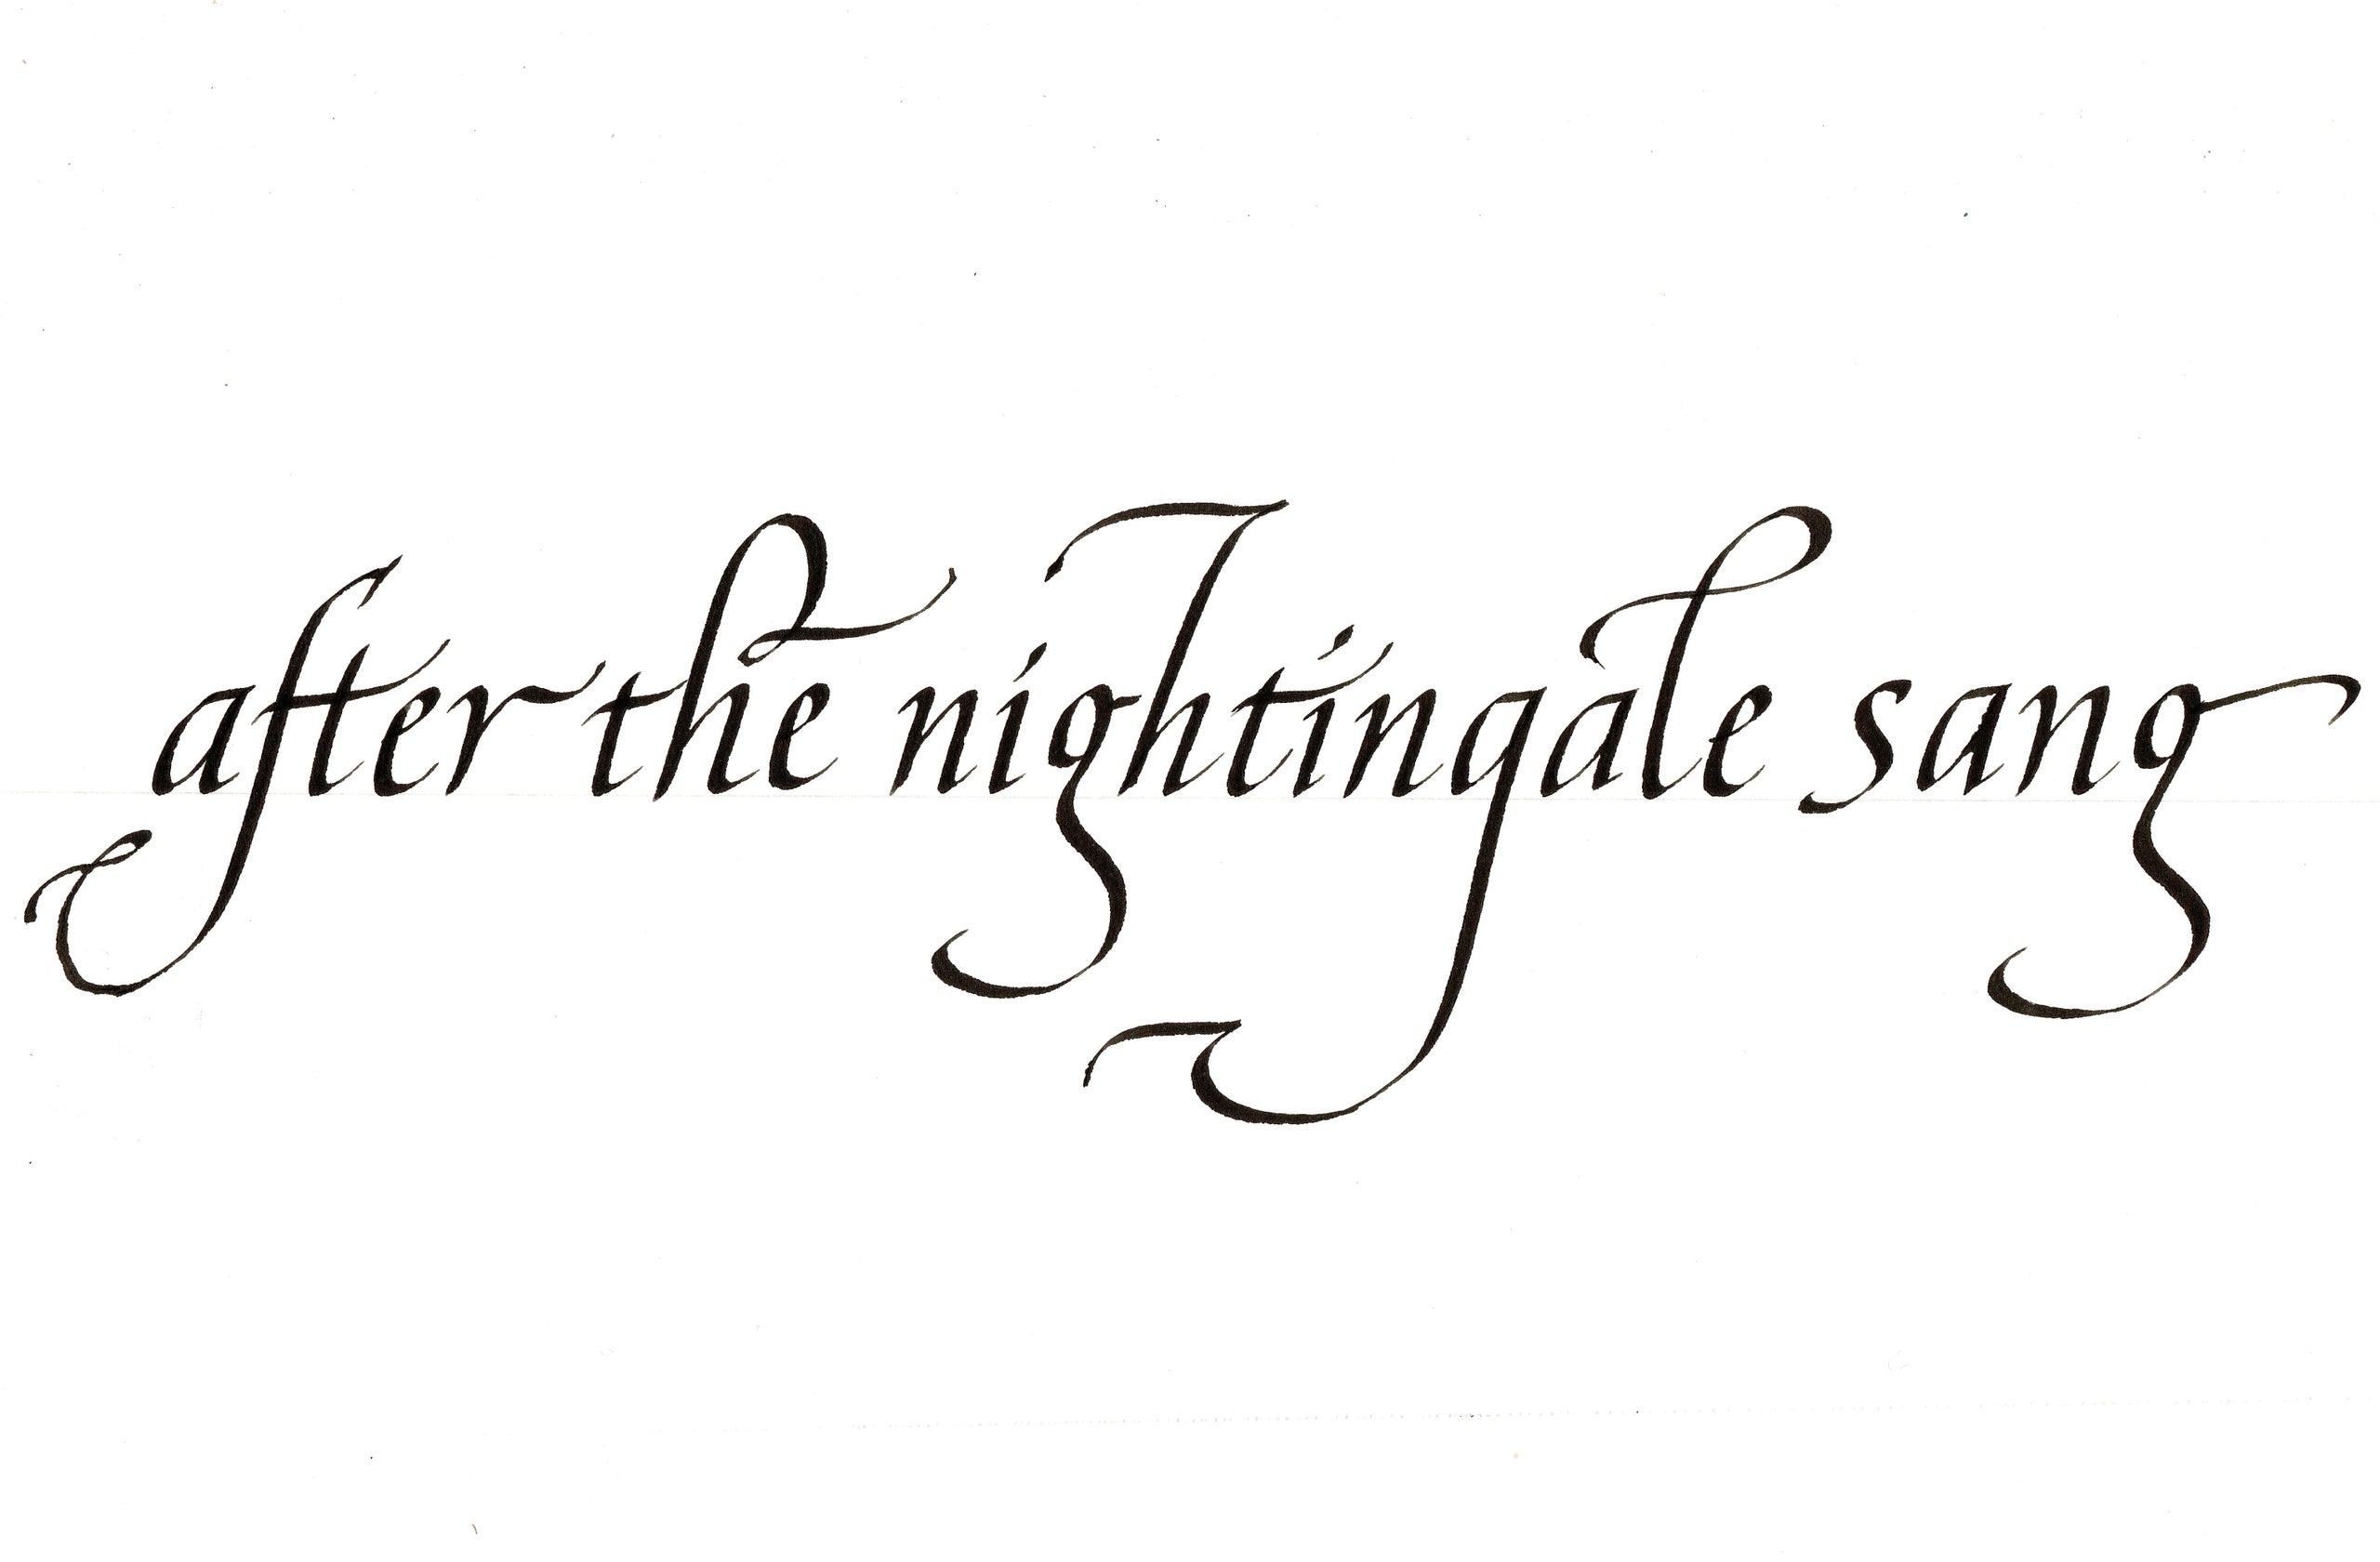
Join Gaynor Goffe for this two-part workshop where she will teach you how to make your italic more rhythmical & flowing and then enhance it with flourishes.
In week 1, Gaynor will demonstrate how to get your basic italic more rhythmical, how to use basic flourishes on ascenders, descenders, line beginnings and endings for italic minuscule, and how to use them in words and text. There will also be lay-out demonstrations to help you achieve a harmonious structure for your work.
Week 2 will start with an opportunity for students to receive individual feedback from Gaynor on any work from week 1's workshop and will then be followed by further demonstrations on a wider range of flourishes.
Specific skills you will learn at the workshop
Materials are not included in the course fee.
Students are encouraged to have the materials to hand to work alongside Gaynor as she demonstrates in both of these classes. There is no pressure to share your work with the class, but there will be plenty of opportunities to receive feedback as you go along if you wish.
After the demo you will get a link to watch the recording, which is available for 30 days; allowing you to work along at your own pace and at a time that suits you best.
For sharpening nib (optional but recommended) – sheet of wet & dry grey sandpaper 1200 or 1000 grade from a DIY or tool shop, cut a smallish piece approx. 2” square from the A4 sheet, or fine grade small Arkansas stone if you already have one.
For securing a slip-on reservoir (optional but recommended) – small reel of Micropore sticky medical tape from chemists.
Links to suppliers
Most tools and materials are obtainable from Amazon (cheapest for paper and ink) or from www.scribblers.co.uk
Mon 22rd March 10am - 12pm
Mon 29th March 10am - 12pm
(UK timings)
This two-part LivePlus™ online workshop is ideal for improvers and intermediate calligraphers. All students will need to have experience of writing basic italic to benefit from this workshop.
Workshop details
Join Gaynor Goffe for this two-part workshop where she will teach you how to make your italic more rhythmical & flowing and then enhance it with flourishes.
In week 1, Gaynor will demonstrate how to get your basic italic more rhythmical, how to use basic flourishes on ascenders, descenders, line beginnings and endings for italic minuscule, and how to use them in words and text. There will also be lay-out demonstrations to help you achieve a harmonious structure for your work.
Week 2 will start with an opportunity for students to receive individual feedback from Gaynor on any work from week 1's workshop and will then be followed by further demonstrations on a wider range of flourishes.
Specific skills you will learn at the workshop
- building skill in using a range of flourishes for italic miniscule
- lay-out tips
Materials are not included in the course fee.
Students are encouraged to have the materials to hand to work alongside Gaynor as she demonstrates in both of these classes. There is no pressure to share your work with the class, but there will be plenty of opportunities to receive feedback as you go along if you wish.
After the demo you will get a link to watch the recording, which is available for 30 days; allowing you to work along at your own pace and at a time that suits you best.
- Mitchell’s square-cut ‘roundhand’ nibs ( left-oblique for left-handers), for all edged-nib scripts, nib size 2 (2mm), or similar nib of different make
- Slip-on reservoir (advisable to get at least 2 of these)
- Non-waterproof black ink eg Pelikan 4001 (easiest for beginners), or Rousy, or liquid Sumi
- Winsor & Newton smooth surface drawing & sketching cartridge 70lbs weight (60 or 100lbs also suitable) A3 size recommended, or Rousy cartridge pad. (Some other makes are also ok, but the Winsor & Newton is particularly good to write on)
- Penholder, eg Cumberland graphics ‘school’ penholder, or similar round penholder
- HB pencil
- Ruler
- Prittstick or similar gluestick
- Water pot
- Tissues
For sharpening nib (optional but recommended) – sheet of wet & dry grey sandpaper 1200 or 1000 grade from a DIY or tool shop, cut a smallish piece approx. 2” square from the A4 sheet, or fine grade small Arkansas stone if you already have one.
For securing a slip-on reservoir (optional but recommended) – small reel of Micropore sticky medical tape from chemists.
Links to suppliers
Most tools and materials are obtainable from Amazon (cheapest for paper and ink) or from www.scribblers.co.uk