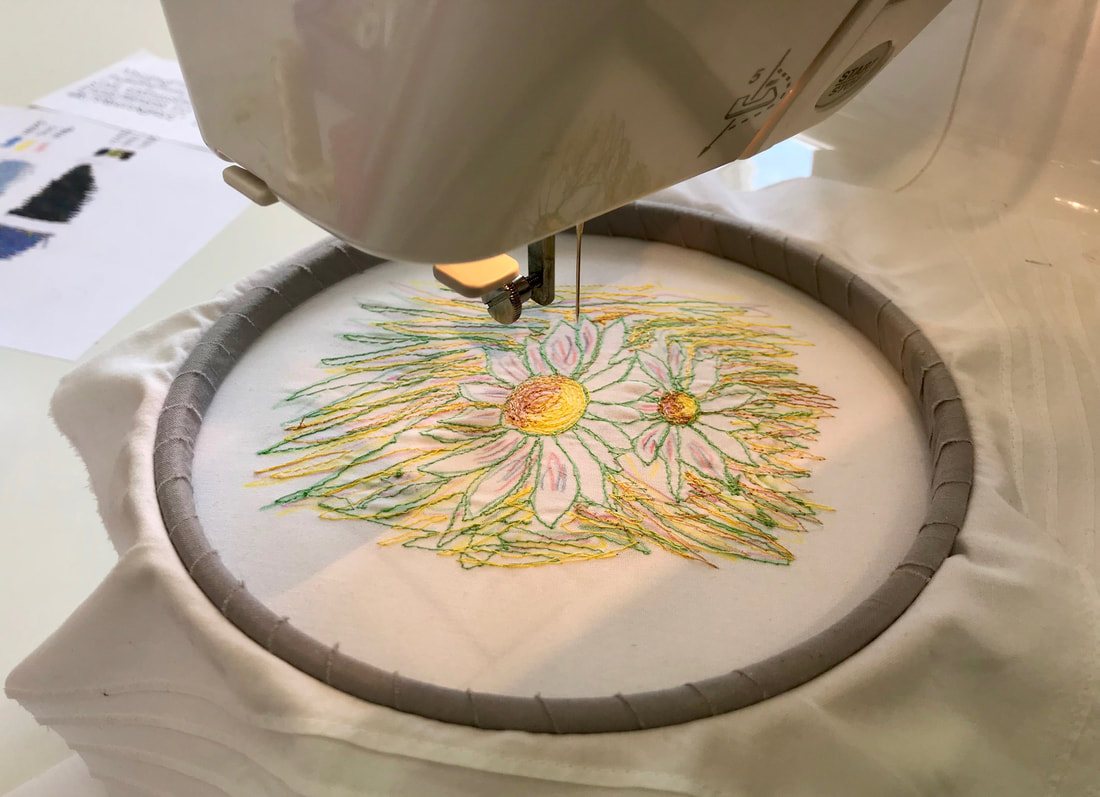
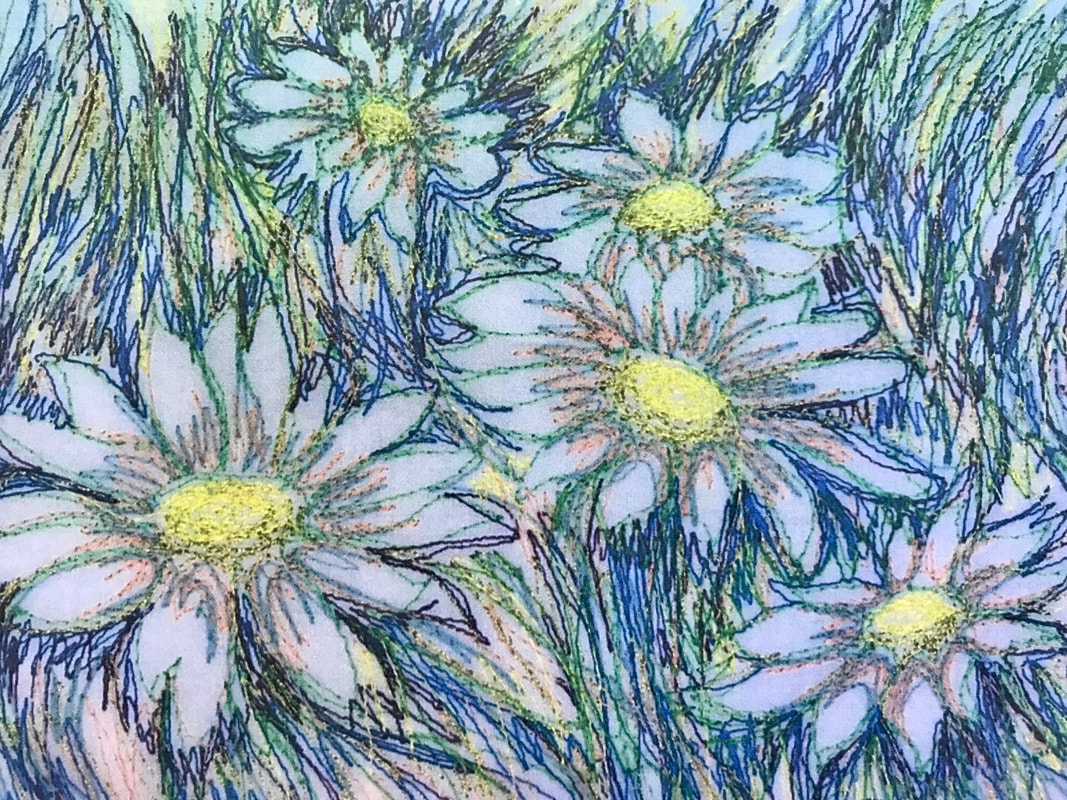
 We were joined at Ardington School of Crafts in September by the delightful Richard Box for another exposé of his artistic talents. He is so popular with our students, whether for his Drawing for the Terrified, Painting for the Petrified or Machine Embroidery (also known as free-stitching) courses, and it’s easy to see why. Richard has a very easy going and fun style of teaching that it is difficult not to love! Here’s how he describes today’s Daisies workshop: “I show the students how to start by whizzing about on my sewing machine. Go slowly I say, breathe and smile radiantly while you are at it! The smiling means they don't jerk – you need a nice, smooth action for this work”. Richard is hardly going slowly at this point as he demonstrates, but then he has been practicing for a few years now, and he makes it look so simple. With the correct foot for your sewing machine (a darning or free-motion foot), you really can whizz up an exciting piece of stitchery. 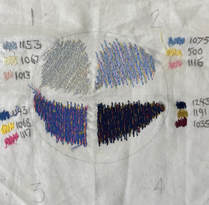 Richard explains that he will ask the students to trace the image from his template design. They will do this with coloured pencils onto a thin white Egyptian cotton. This fabric is fine and see-through, so they don't need a light box to make the tracing. The coloured pencils help students to understand which colour thread to use in those areas. Then step-by-step, Richard explains to the students how to ‘free-machine’ draw the image, starting in green. He also explains that some of the surrounding area should be stitched with green thread. “Then I ask them to do the centres of the daisies in pale yellow at the top and metallic gold thread at the bottom to allow scintillating, reflective lights to gleam in the shadow. Shading and Form Shading brings an image to life and gives it form, and Richard, being an artist, has some particular tips and techniques for this where machine embroidery is concerned. In the shadow of the daisies, Richard takes the greens and yellows into the surrounding areas as this starts to link the design together. “The surrounding area is equally as important as the daisies”, he explains. “You can hear the breeze rustling through the grass and stems in the surrounding area. Once I had a student say to me that the background was the boring bit. What heresy! The background is full of life and takes its colours from the main subject. Think Monet - he will show you what I mean”. Hoover dust greys One of the most simple to grasp concepts from Richard is his theory of ‘hoover dust grey’. He takes a small handful of some of the threads on his workbench to show me what he means. “Pale blues, reds and silver create the illusion of grey but still scintillate and shimmer to make the effect more interesting. Monet used this approach, in fact many of the Impressionist did. They painted cathedrals and haystacks, making browns and greys with just the primary colours. Hoover dust, but not dull or grey at all!” Finishing the Daisies More greens are added over these shimmering, shadowy underlayers, to bring back a sense of form. White is added for the petals and the finished design is pretty as a picture. Not bad for a simple plant that is found on every continent except Antarctica. As the students were finishing up their own daisy creations with a little time to spare, Richard generously demonstrated other flowers and techniques to the group. Eyes wide open, we all embraced the skill of a master free-stitcher at work.
0 Comments
Your comment will be posted after it is approved.
Leave a Reply. |
Blog categories
All
Author:
|


 RSS Feed