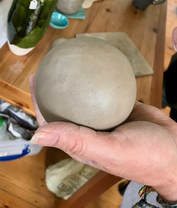
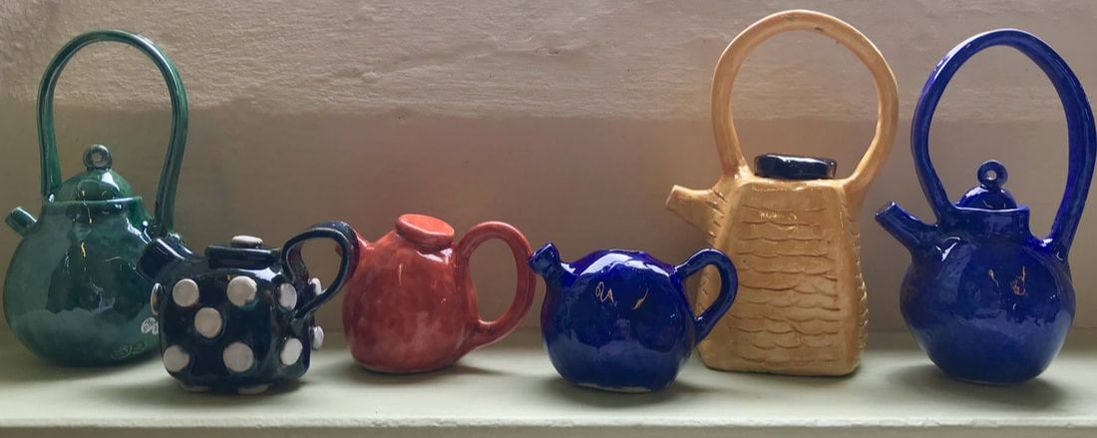
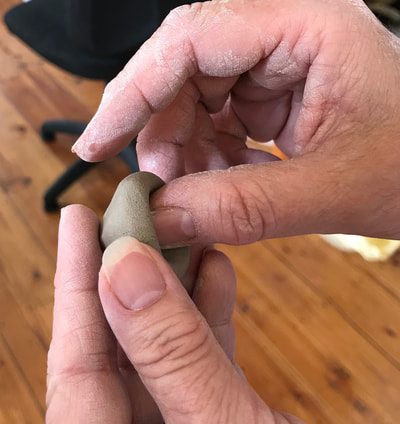
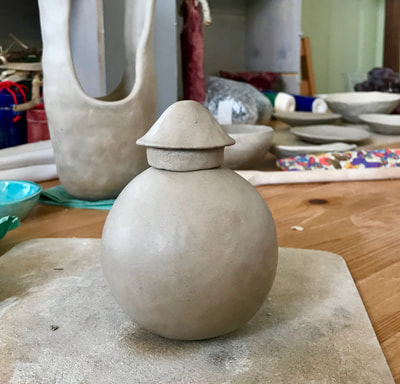
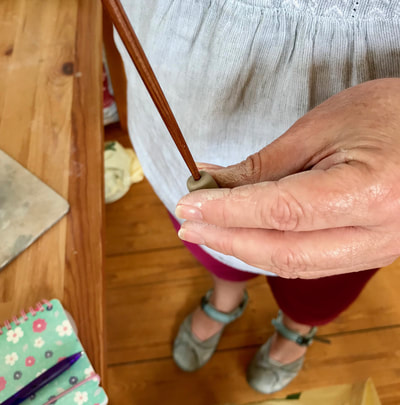
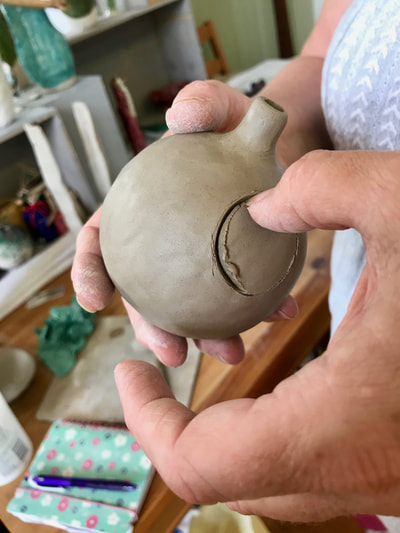
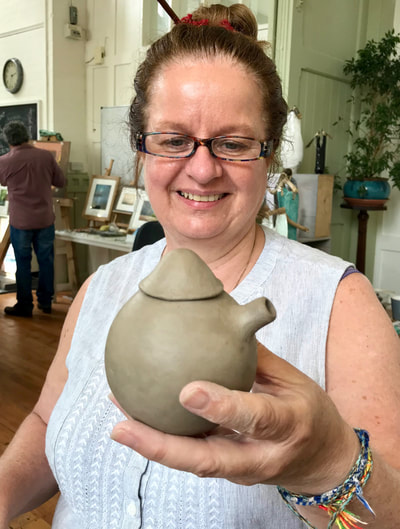
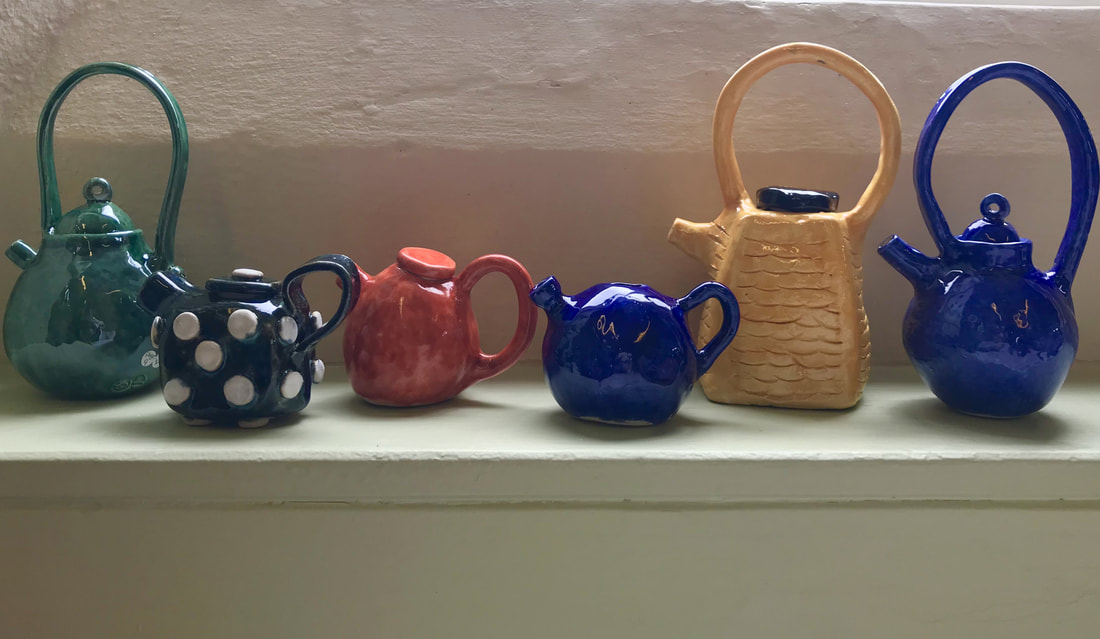
 A tale of a teapot made with no tools… Debbie Page came without her clay working tools today but that didn’t stop her. Debbie’s fabulous pots - particularly the 'tri-umph of teapots' – are famous in these parts. She starts to show me how she makes a teapot from two pinched pots shaped into half domes and then joins the two pieces together to make a sphere, or the body of the teapot. Normally Debbie would use a wooden modelling tool to join the two sides with a little water, (slip takes up space, so Debbie prefers just a little plain water to join them), but today she uses only her hands and a hair chopstick to create the finished article. Whilst letting the combined sphere dry, Debbie also crafts a shallow dish, as a prototype for a collaboration with Calligrapher, Simon Sonsino. Debbie will fire the shallow dishes and glaze some of them so that Simon can experiment with writing on them in various different media. He intends to sell the final Calligraphed dishes for use with inks and pigments, jewellery or just for decorative fun. Back to the tools-free teapot construction! Debbie now turns her hand to the lid. She takes a smaller ball of clay and makes a little half dome (1). It gets rolled on its side on the table top to make into a pointed lid – like a conical Chinese rice hat. Then a small flange is added and it stands proudly waiting for its new home (2). How exciting – the pot is looking ready to fill with delicious tea. Debbie advises that she never lets a teapot out of her workshop without a guarantee of it being a ‘proper pourer’, so these vessels are not just for looking at but for serious tea drinking. Next the spout. This is where Debbie cheekily removes the chopstick holding up her long auburn hair, to skewer a pouring hole through the little rolled sausage spout (3). The handle comes next, a towering tall one. For this Debbie rolls a piece of clay into a long sausage and then flattens it gently by hand – no rolling pin required! When these two appendages have dried slightly into their fine new shapes, Debbie moulds first the spout onto the side of the pot with a small extra coil of clay, to give it good contour and firm connection at the join. To make the hole for the lid, Debbie marks the size first with her thumb nail, and then carves it out, also with the thumb nail tool (4). A bit of tweaking and shaping to ensure a good fit (5) and we are almost there. The lid will be taped into the teapot so during the drying time, they will dry (and shrink) at the same rate. Once fired, the clay should have shrunk by about 10%.
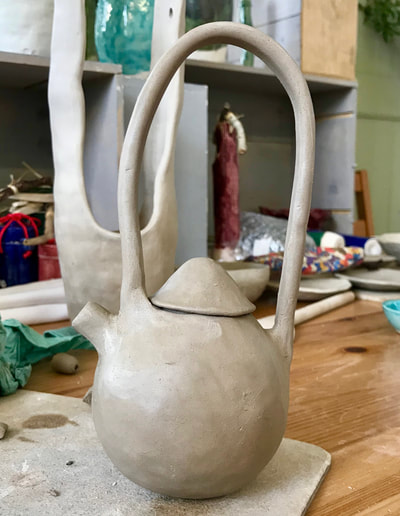
The handle goes on next(6), and needs a bit of help from Isaac Newton to stay in shape, upended on an empty yoghurt pot (the contents of which were eaten specially to make room for the teapot). Debbie glazes her students pots and when they come back from the kiln, they are a total triumph (a new collective noun we invented today for teapots!). With this type of white earthenware clay, you can choose from stoneware or earthenware glazes. Stoneware fired clay is waterproof, but traditionally Chinese and Japanese teapots were made of earthenware and were actually porous. Not such a problem as you would think as it takes about 45 minutes before the tea starts to seep out, and it is usually drunk by then. Nevertheless, a porous teapot couldn't be re-purposed as a vase anytime soon. Debbie lets students choose their preferred glaze from a palette of tiled examples. To see all our Ceramic & Clay courses click here The results – we think they are a total teapot triumph. Ready for drinking all the tea in China!
1 Comment
29/5/2018 22:23:46
Teapot safely survived the trip home and is quietly drying waiting for firing. Will let you know how it goes.
Reply
Your comment will be posted after it is approved.
Leave a Reply. |
Blog categories
All
Author:
|
 RSS Feed