|
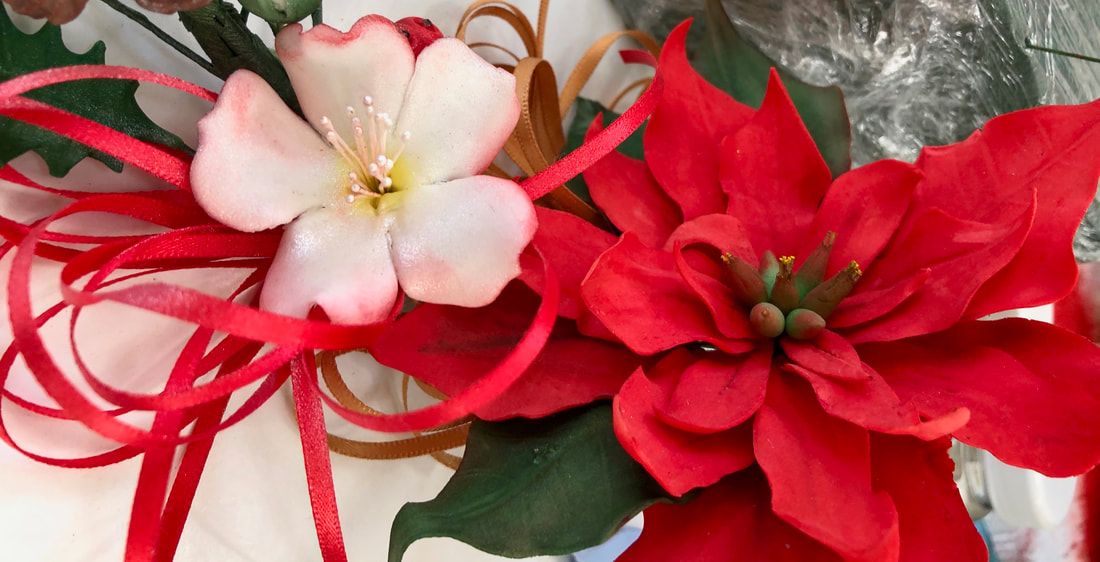
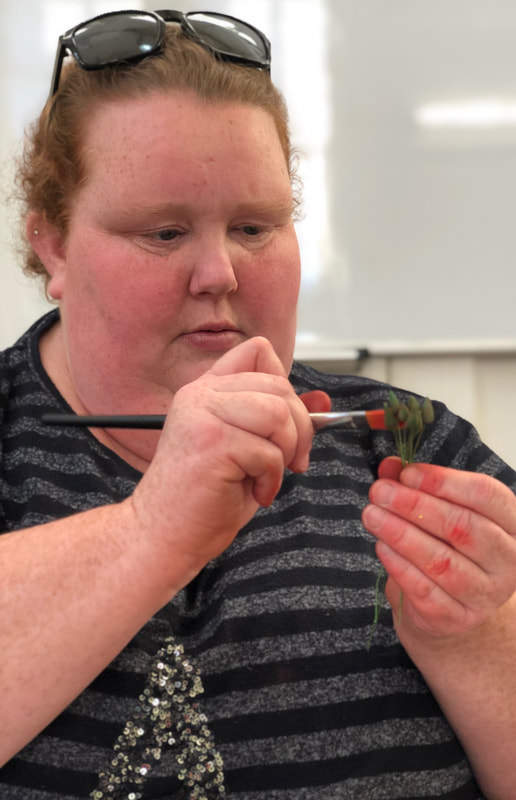
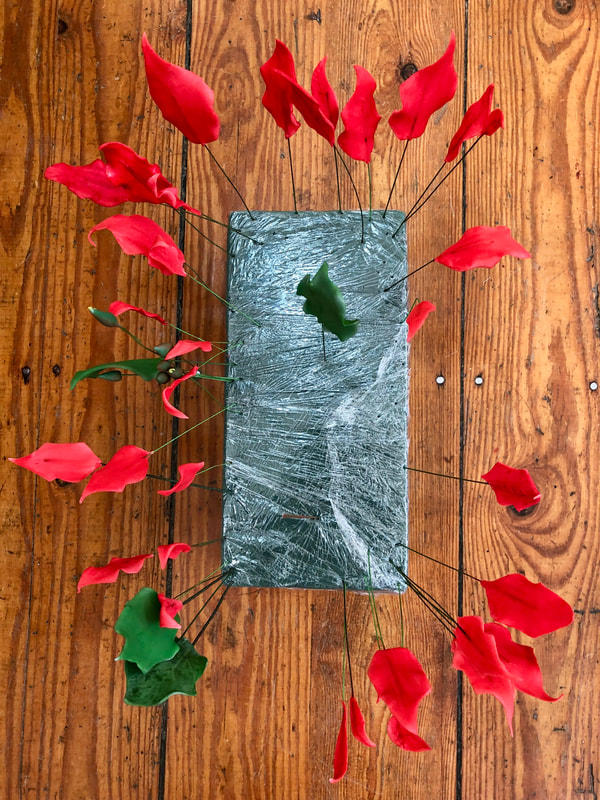
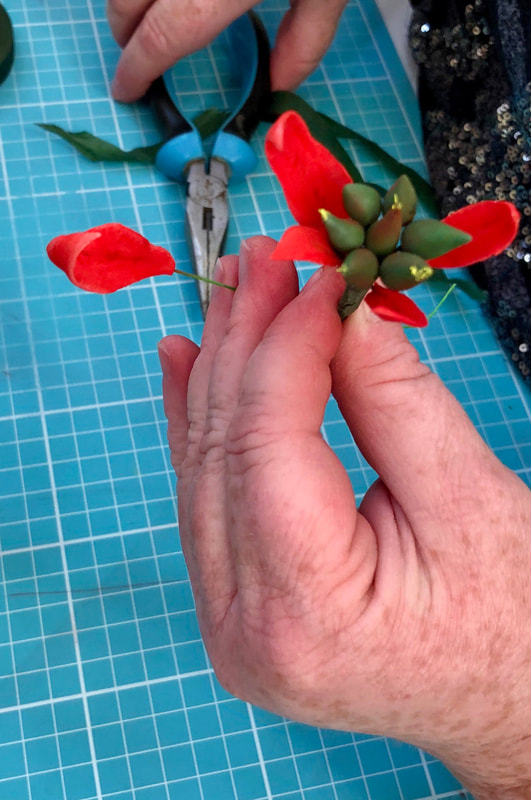
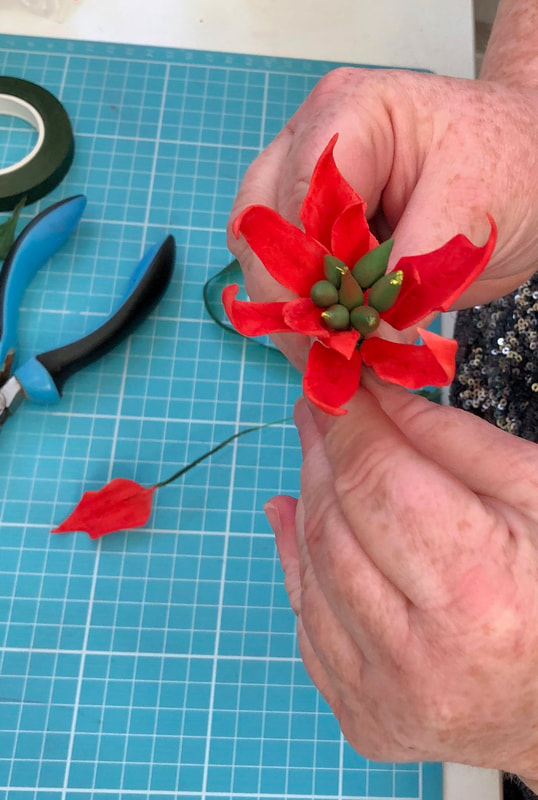
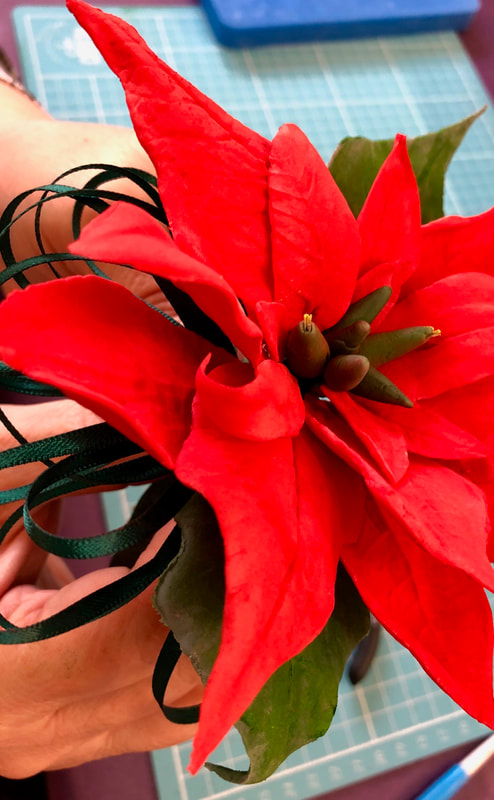
Kelly has just popped the kettle on. It’s not for a nice brew however, it’s for setting the colour dusting on the Poinsettia petals that the students have just made. The steam from the kettle spout deepens and dulls the hand-painted colours to make the finished flowers look as realistic as possible. “Don’t leave them in the steam too long though – they will melt and slide off the stem”, Kelly explains, and then she shows the students how to do it, and how not to do it! “You don’t have to set the colours by the way, it just adds a nice touch. Green really needs it, and if you add a flush of red to the base of the green leaves, it will also give a really authentic finish. A brush through the steam will deepen the colour”. There is a mass of red Poinsettia petals hovering around the classroom. Each student has made upwards of fifteen petals each – different sizes and shapes, plus a cluster of buds that make up the centre of the flower, plus a few leaves. They are all standing to attention in a block of florists foam and already look so real. They are made by using a special flower paste which dries very hard and can be rolled very thin. The realistic petal veins are added by using special moulds that press both sides of the markings into the flower paste. Then you can soften the edges using a softening mat to give the contours to the flower parts. The ‘stem’ is a real florists wire, so the final effect looks like it has come straight out of a flower shop. The next process involves taping the petals, so Kelly gathers the students around to watch how to do it. She is using flower tape, and again, just like florists use. It’s stretchy and when you pull it out, the glue is released so that it sticks to itself, binding the sugar flower stem into a bendable and attractive finished design that looks like a real flower part. “Pinch and roll the tape onto the flower stem, push it right up to the base of the petal, flower or leaf, and then roll it around the wire in your fingers all the way to the bottom. If you want to embed a finished flower in a cake, then you would use a posy pick (small plastic tube) to hold it, don’t push flowers and wires into the cake – they don’t mix well!” Once all the petals, buds and leaves are taped, it’s time to assemble the flower. Kelly carefully adjusts the angles and the tilt of the centre buds with pliers so that they can nestle in together and point in different directions and heights. She is using odd numbers, as in nature, to create the central point of this flower. “This is time to be really delicate with each of your component parts, as they are very fragile and can easily be damaged” Kelly says as the bud she is working on pops clean off the stem. “It’s salvageable” she says, and returns the paste bud to the wire with a confident push. Then Kelly starts to layer up the smaller petals around the central point, no more than three at a time, using the florist tape to secure their positions on the main stem and pliers to gently tease out a natural angle. “That little fella needs a home – can’t you find somewhere for him?” asks one of the student pointing at a lovely small curly red petal waving away in the foam block. Kelly finds an immediate home for it as she continues to build up the flower from inside out. “As you start getting to the outside of the flower, working with the biggest petals, you will need to angle them more. Then you can finish by adding your leaves and then adding ribbons.” As well as being a skilled sugar craft artist, Kelly designs and creates bespoke cakes for special occasions as well as handmade books and pottery. “Many of my activities are connected – you can even use the same type of tools in some cases. I’m careful to keep my paintbrushes just for the sugar work however!” Kelly also works at Newark Park, a National Trust property in South Gloucestershire, so she’s a very busy lady. You can find more details of Kelly’s work on her website Handmade81.co.uk.
0 Comments
Your comment will be posted after it is approved.
Leave a Reply. |
Blog categories
All
Author:
|

 RSS Feed